
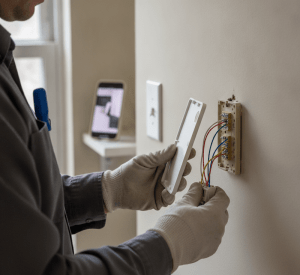
Swapping out a thermostat is one of the most common low-voltage jobs a homeowner sees a contractor handle. It is also one of the most common ones they attempt themselves. Done right, it takes 30 minutes; done wrong, it can short a control board or leave a system that will not call for heat. This guide walks through the full process, from confirming compatibility to landing the right wires on the right terminals.
Key Takeaways
- Kill power at the breaker or furnace switch before touching any wires. Even at 24V, a shorted R-to-C can blow the board fuse.
- Label every wire by terminal letter, not by color. Color conventions are a guideline, not a guarantee.
- Confirm compatibility first: system type, conventional vs. heat pump, staging, and whether a C-wire is present.
- Most standard swaps cost $100-$250 in labor; add-ons like running a new C-wire push it higher.
- A C-wire is effectively required for modern Wi-Fi and smart thermostats. Verify it before you sell the upgrade.
Can I Install My Thermostat Myself?
For a like-for-like swap on a standard 24V forced-air system, a careful homeowner can handle it. The work is low-voltage, the terminals are labeled, and most replacements reuse the existing wiring. The honest answer for contractors fielding this question: the risk is not the voltage, it is the misconnection.
Where DIY goes sideways is on anything beyond a one-to-one replacement. Heat pump systems, multi-stage equipment, dual-fuel setups, line-voltage baseboard heat, 120/240V, and any job that requires adding a C-wire all warrant a professional. If the homeowner cannot identify their system type or the old thermostat had jumpers and unfamiliar terminals, that is the signal to call someone.
How Do I Know If a Thermostat Is Compatible With My System?
Compatibility comes down to three checks, and you make all of them before the new unit comes out of the box.
1. System and Stage Type
Identify whether the equipment is a conventional system, such as a gas, oil, or electric furnace with separate AC, or a heat pump, and how many stages of heating and cooling it runs. A single-stage conventional system uses R, W, Y, G, and C. A heat pump replaces W with O/B for the reversing valve and uses auxiliary/emergency heat terminals. Putting a conventional-only thermostat on a heat pump is the classic compatibility miss.
2. The C-Wire Question
Older mechanical and battery-powered digital thermostats run fine without a common wire. Modern Wi-Fi and smart thermostats need continuous 24V power, which means a C-wire. Before promising a smart-thermostat upgrade, pull the existing thermostat and look for a wire landed on C, or an unused conductor pushed into the wall that can be terminated. No C-wire means either an add-a-wire adapter, a new cable run, or a smart wire module.
3. Voltage
Confirm low-voltage, 24V, control. Line-voltage systems, such as electric baseboard and some fan-coil units, use 120V or 240V thermostats that are not interchangeable with 24V controls and carry real shock risk. The wire gauge gives it away: line-voltage runs use much heavier conductors than the thin 18-gauge thermostat wire.
How to Install the Thermostat: Step by Step
- Cut the power. Switch off the breaker feeding the air handler or furnace, or flip the furnace service switch. Verify the display is dead before proceeding.
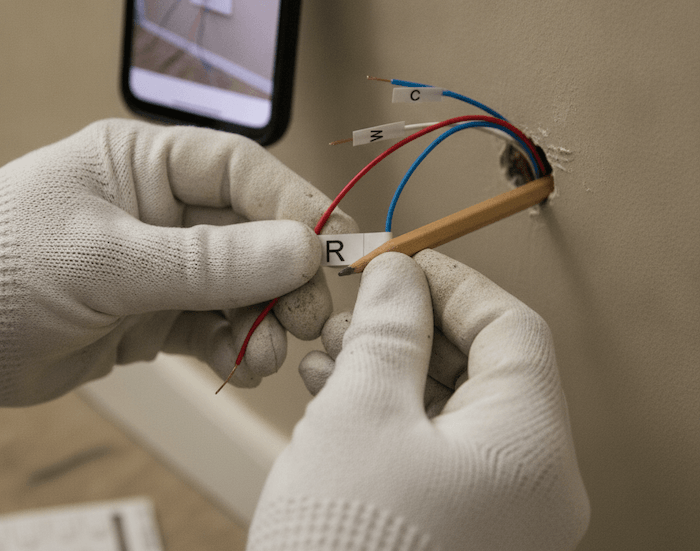
- Photograph and label. Take a clear photo of the existing wiring, then label each wire with the terminal letter it is connected to, not the color. Use the stickers included with most thermostats.
- Free the wires. Release each conductor and prevent the bundle from falling back into the wall. Wrap it around a pencil or clip it. Remove the old base plate.
- Mount the new base. Level it, mark the holes, and use the supplied anchors for drywall. Feed the wires through the opening.
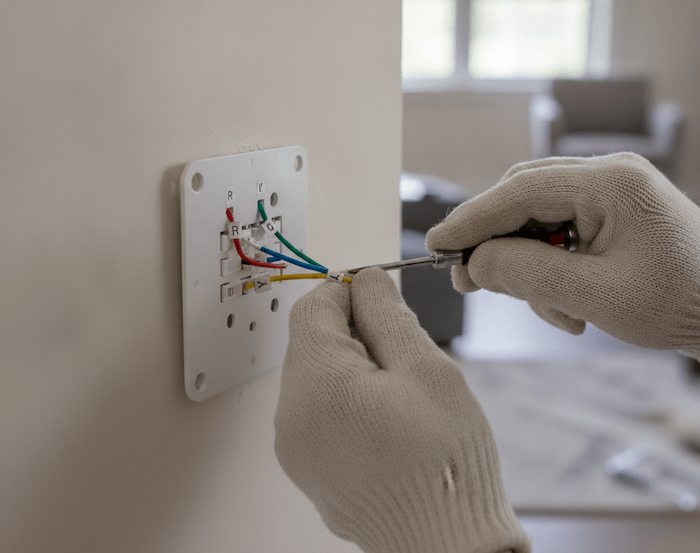
- Land the wires by terminal. Match each labeled wire to the same terminal letter on the new unit. Strip back to clean copper if the ends are oxidized.
- Attach, restore, and test. Snap on the faceplate, restore power, configure the system type in setup, and run a call for heat and a call for cool to confirm the equipment responds.
What Color Wires Go Where on a Thermostat?
Color conventions exist, but treat them as a starting point only. Installers routinely deviate, and a wire’s color tells you nothing definitive about its function. Always go by the terminal the wire was landed on at the old thermostat. With that caveat, the common conventions are:
- R, red – 24V power from the transformer. May be split into Rh and Rc on dual-transformer systems.
- W, white – heat call. W2 is used for second-stage heat.
- Y, yellow – cooling or compressor call. Y2 is used for second-stage cooling.
- G, green – fan relay.
- C, blue or sometimes black – common, the 24V return that powers smart thermostats.
- O/B, orange or dark blue – reversing valve on a heat pump. O energizes in cooling, B in heating.
The takeaway worth repeating to any homeowner: a blue wire is not automatically the C-wire, and a red wire is not always R. The terminal letter is the only reliable map.
How Much Does It Cost to Install a Thermostat?
A straightforward professional swap on an existing, compatible system typically runs $100-$250 in labor, often completed within a single service-call minimum. The price climbs with complexity:
- Standard like-for-like replacement: $100-$200 labor.
- Smart/Wi-Fi thermostat with existing C-wire: $150-$300 labor, plus the unit, usually $100-$300.
- Running a new C-wire or fishing cable: add $100-$200+ depending on access and wall layout.
- Heat pump or multi-stage configuration: higher end of the range, given the setup and verification involved.
For homeowners weighing DIY against a service call, the value of a professional install is not the labor on the wires. It is the compatibility verification and the test cycle that confirms every stage actually fires.
The Bottom Line
A thermostat swap is well within reach for a confident homeowner on a simple conventional system, provided they cut power, label by terminal, and confirm the system type during setup. The jobs that justify a call, heat pumps, missing C-wires, multi-stage and line-voltage systems, are exactly the ones where a misconnection costs more than the install. When in doubt, verify compatibility first and test every call before walking away.


